At a glance
- A RIB ride through the Hjørundfjord, with a live English-speaking guide, listed from US$157.[1]
- Early and late in the day tend to give softer light and calmer water, which suits reflections along the fjord walls.
- A dry bag and a lens cloth. Spray and salt mist settle on everything, and a smeared lens ruins a whole set of frames.
- Slogen, a 1,564-meter mountain in the Sunnmøre Alps, plunging straight into Norangsfjord.[2]
- Harbour porpoises appear singly or in small groups as they hunt near the surface, so keep watching the water ahead.[3]
- Top choice RIB Ålesund, Hjørundfjord from US$157 Duration105 minutes[1]Rated4.88 from 150 reviews[1]GuideLive tour guide: English[1]CancellationFree cancellation up to 24 hours[1] Check availability
- RIB Hjørundfjord, Uteguiden from US$158 Duration2 hours[4]Rated4.93 from 13 reviews[4]GuideLive tour guide: English[4]CancellationFree cancellation up to 24 hours[4] See this tour
- Hjørundfjord cruise from US$115 Duration5 hours[5]Rated4.58 from 282 reviews[5]GuideLive tour guide: English[5]CancellationFree cancellation up to 24 hours[5] See this tour
There is an express boat service from Ålesund to Øye in summer that stops at Trandal, Sæbø and Urke.
Is the fjord RIB trip worth it for photographers?
Gear to pack
- A dry bag and a rain cover for the camera
- A single camera or a phone, nothing more
- A microfibre cloth for salt mist on the lens
- Spare batteries kept warm in an inside pocket
On the water
- Choose your side of the boat before you set off
- Short shooting bursts with the camera stowed between them
- Wrist strap or neck strap fitted at all times
- Keep the camera low and covered when the boat turns
What a RIB changes about fjord photography
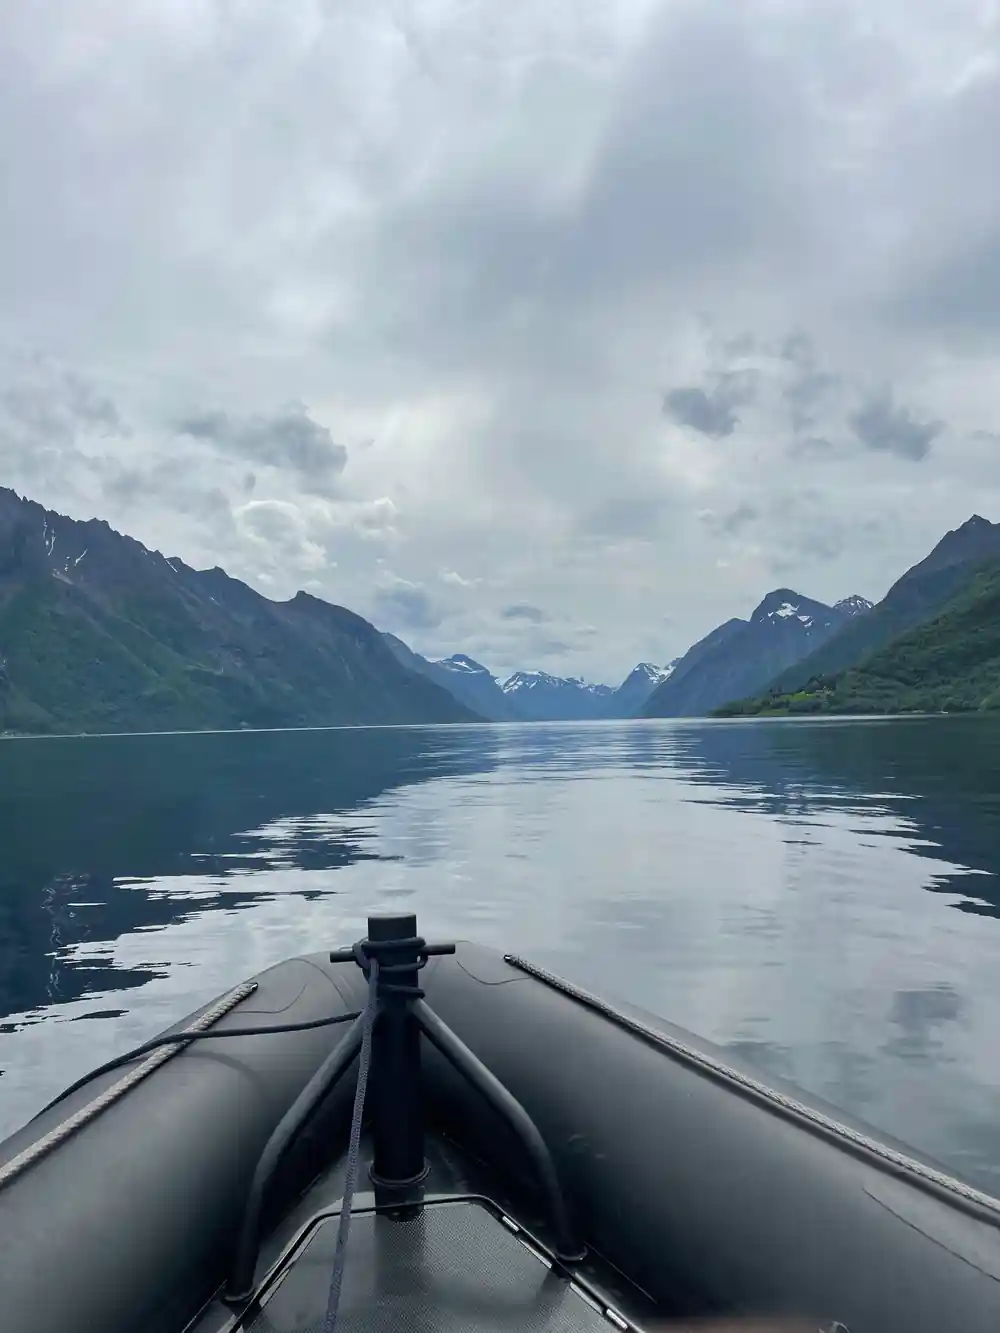
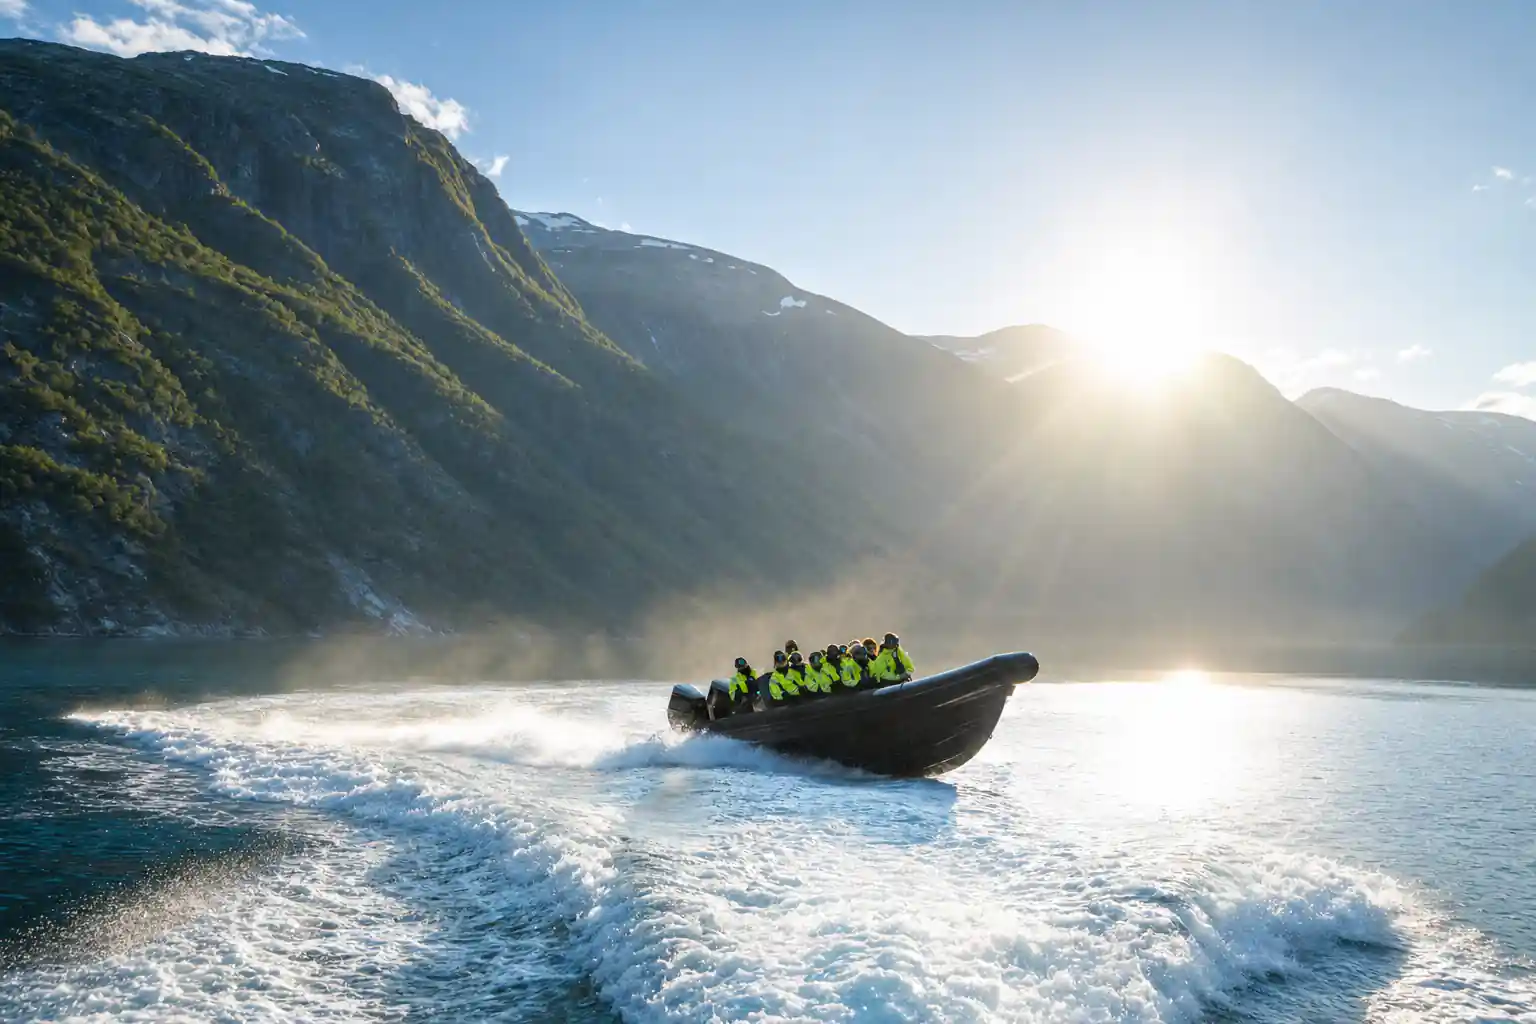
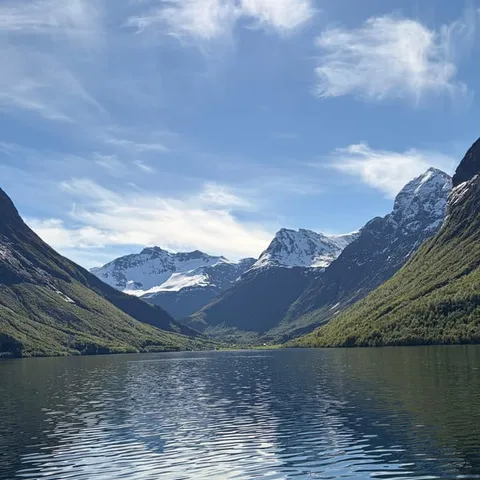
A RIB puts you close to the water, and that is the point. From a low seat the fjord stops being a backdrop and becomes the foreground: you look along the surface, past the spray, and up at peaks that seem to begin just beyond the tubes. The Hjørundfjord stretches for 35km.[6] Slogen is a 1,564-meter mountain rising in the Sunnmøre Alps, with a pyramid shape that plunges straight into Norangsfjord.[2] From water level that shape reads far more dramatically than it does from a road.
The trade-off is movement. Everything is handheld, the horizon tilts, the wind is constant while the boat is running, and you will throw away more frames than you keep. The reward is a set of photos of fjords that could not have come from a pier: reflections broken by the wake, walls of rock sliding past, and the occasional look straight down into water that seems almost black.
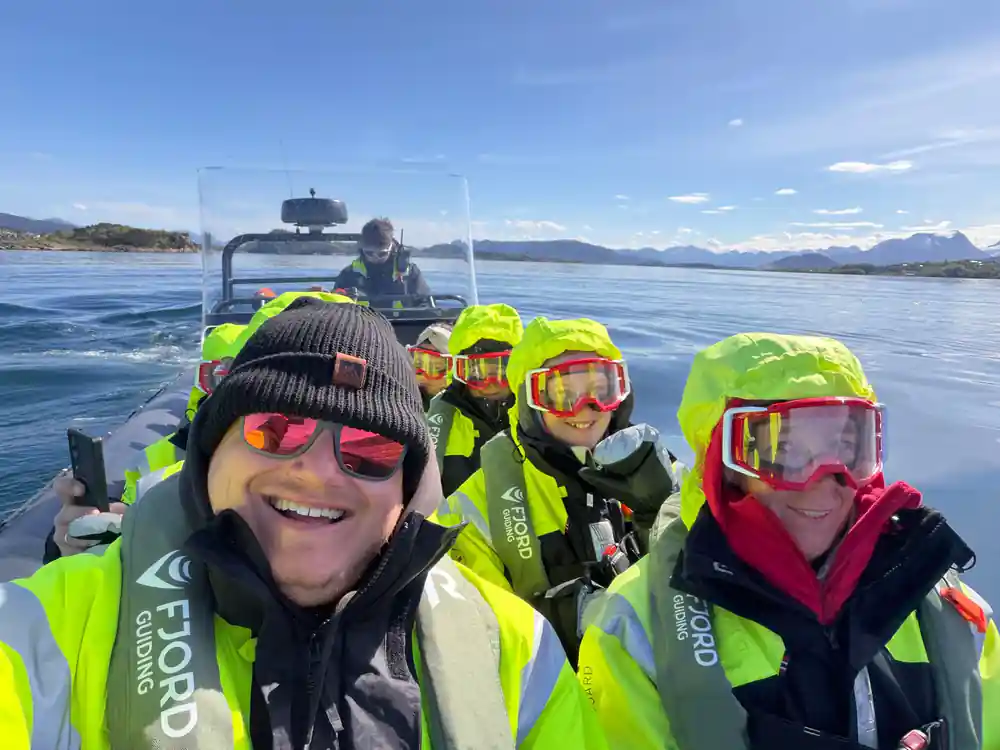
Think about the sequence of a trip rather than a single hero shot. The best sets from a RIB often mix wide frames of the whole valley, tight frames of the wake and the water, and a few pictures of the boat and the people in it. Look for a foreground: a rope, a shoulder in a yellow vest, the bow cutting a line across the reflection. Those small anchors give the eye something to hold on to when the background is a wall of rock.
Cameras and phones: what to bring onboard
Bring less than you think. A single camera with a fixed or zoom lens, or just the phone in your pocket, covers almost everything on a RIB. A wide to standard zoom handles the fjord walls and the boat itself. A short telephoto is useful for picking a farm or a waterfall out of the far shore, but long glass magnifies every bounce and is hard to hold steady on a moving hull. If you carry a spare camera, keep it sealed in a bag rather than around your neck.
Phones do remarkably well in this light. They are sealed, they stabilise, and they can be used one-handed while you hold on with the other. Their weakness is flare and salt on the glass, so wipe the lens before every burst. Pack a microfibre cloth, a spare battery kept warm in an inside pocket, and a dry bag big enough to swallow the camera when spray comes over the side. A small pouch on a cord does the same job for a phone and lets you shoot without taking it out of the bag.
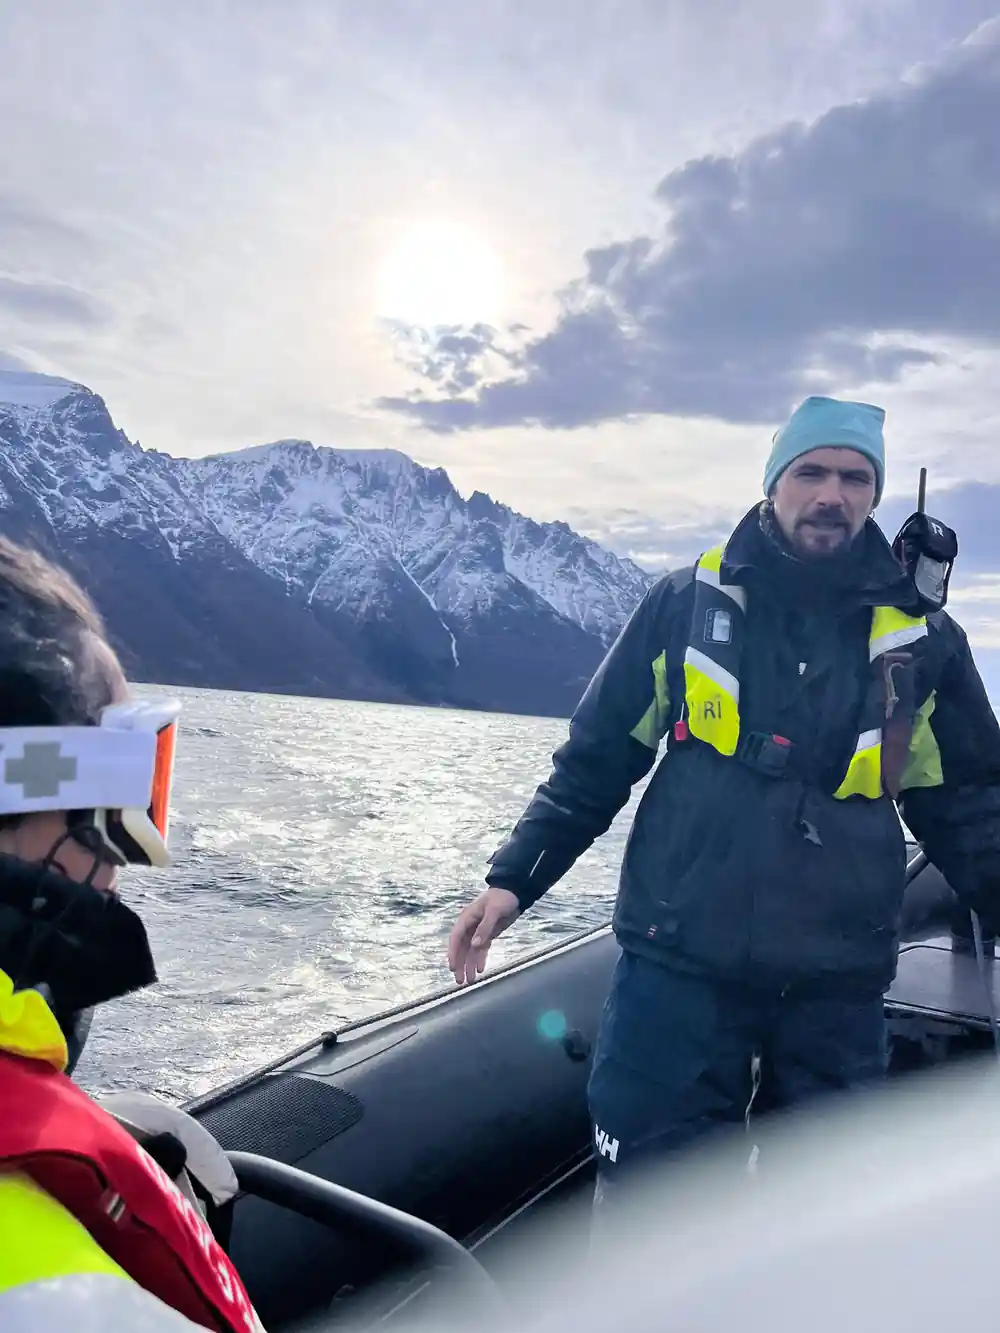
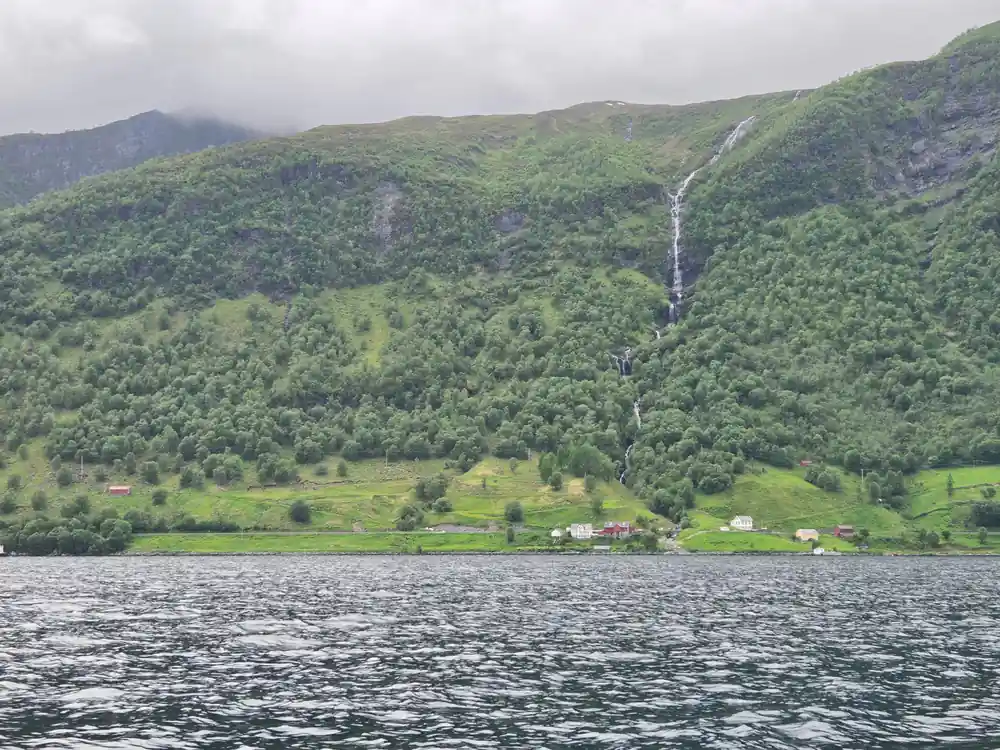
Mountains dropping straight into the Hjørundfjord, seen from water level.
Protecting gear from spray and salt mist
Spray is part of the day rather than an accident. Salt mist settles on everything and dries into a haze that shows up later as soft, low-contrast images. A rain cover, or a simple plastic bag with a hole for the lens, costs very little and saves a lot. Keep the camera out only while you are shooting and stow it between passes.
Back on land, wipe the outside of the body, clean the lens with a cloth dampened in fresh water rather than dry rubbing, and let everything dry with the caps off before you put it away. Ålesund has an oceanic climate, with cold, rainy winters and cool summers,[7] so damp gear is normal here and deserves a few minutes of attention at the end of the day.
Batteries and memory cards dislike damp and cold. Keep spares in an inside pocket rather than a rucksack, and swap cards with dry hands if you can. A small silica sachet in the camera bag costs nothing and takes the edge off a wet day. If you have a second body, leave it behind unless you can keep it sealed the whole time.
Shutter speed and ISO on a moving hull
Shutter speed is the setting that matters most. Set it fast enough that mountain edges stay crisp while the boat is running, then check the back of the camera and go faster if they look smeared. The aperture can stay fairly open, because depth of field is rarely the problem when the subject is a rock wall a long way off, and the light usually lets you keep the ISO low.
In flat, dull weather, resist the urge to slow the shutter down to gather light. Raise the ISO instead, accept a little grain, and keep the sharpness. Burst mode with continuous autofocus gives you a better chance of a clean frame as the hull rises and falls. If your camera or lens has a stabiliser with a panning mode, it helps when you follow a bird or the shoreline.
from US$157
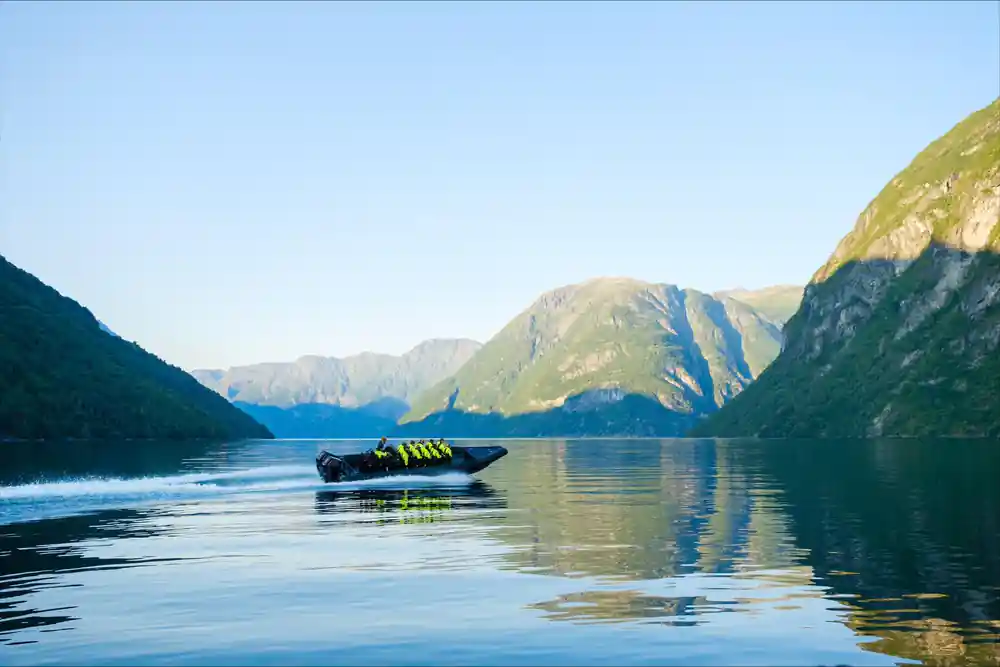
The RIB Ålesund - Fjordsafari Hjørundfjord runs for 105 minutes with a live English-speaking guide and free cancellation up to 24 hours in advance.[1]
Morning light and afternoon positioning
A fjord this deep between high walls usually has one side in shade while the other catches the sun, and the split moves through the day. Early light tends to be softer and the water calmer, which suits reflections. Later, the sun swings round and may drop behind a ridge, flattening the scene or lighting the opposite wall beautifully. Watch how the shadow line travels and aim your best frames at the lit side.
Position matters as much as timing, so decide before you set off which side you want for the outward leg and which for the return. Landmarks deep in the fjord give you targets to aim for: Hotel Union Øye, established in 1891 and famous among European aristocracy and luminaries,[8] and Lygnstøylvatnet in Norangsdal, formed by a rock fall from Keipen in 1908, with the old road and farmhouse foundations still visible beneath the water.[9]
Grey days are not wasted days. Flat light removes the harsh contrast between lit and shaded rock, so the shapes of the mountains, the layers of ridges behind them and the texture of the water all read more clearly. That is often when the quieter photos of fjords come together, the ones that look like the place rather than like a postcard. Give the camera a little more exposure in mist and expect the colour to be subtle.
Stowing bags and framing from a seat
Loose kit is a hazard and a distraction. Put everything you are not using in a dry bag at your feet, zipped shut, with nothing dangling that the wind can grab. Cameras go on a wrist strap or a neck strap and never swing free. Sunglasses sit on a cord, and a cap should fit properly or stay at home, because it will lift in the wind.
Shoot with your elbows tucked in and your back braced against something solid. On a fast hull, sitting low steadies the camera more than standing does. When the boat slows or turns, that is your moment for the frame you have been waiting for, so keep the camera up and the settings ready instead of starting from scratch each time.
Wildlife, drones and the patient shots
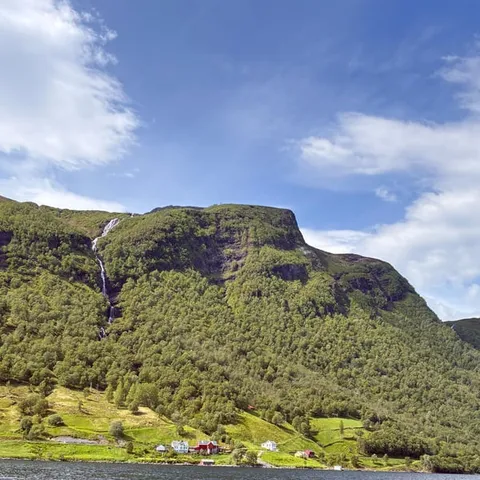
Harbour porpoises are the fjord's most common cetaceans, appearing singly or in small groups as they hunt fish near the surface.[3] They show as a brief roll and a fin, so watch the water ahead rather than beside the boat and take the shot the moment you see movement. Birds get the same treatment: pre-focus on the likely patch of sky, pan smoothly, and keep shooting right through the pass.
For aerials, a Sykkylven drone flight from shore is the simpler plan. Launching from land gives you the top-down view of the fjord arms, the farms and the wakes, and it leaves both hands free on the boat. Flying from a moving RIB is a different level of difficulty altogether, and salt air is unforgiving on the equipment.
Patience is the practical skill here. Wildlife rarely appears on a schedule, so keep the camera switched on and your settings ready between landscape frames, and accept that many attempts will be empty water. Even without an animal in the frame, the water ahead of the boat, the line of the wake and the far shore give you something to compose while you wait.
How long fjord boat trips run, in hours
Durations in hours as listed for these boat trips:[4][5][10][11].
From-prices for fjord boat trips
From-prices in US dollars for these GetYourGuide listings:[1][4][5][10].
When to plan a fjord photography trip
Shooting from the RIB
Set up before you board
Choose one lens or just your phone, fit a strap, and set a fast shutter speed while you are still on land.
Protect first, shoot second
Keep the camera in a dry bag until the boat is running and the spray pattern is clear, then take it out for short bursts.
Brace and pan
Sit low, tuck your elbows in, and pan with the movement of the hull instead of fighting it.
Watch the light move
Note which wall is lit and which is in shade, and aim your strongest frames at the contrast between them.
Wipe the lens often
A dry microfibre cloth in a pocket deals with salt mist in seconds and saves a whole set of soft images.
Book the RIB and bring a camera you can hold with one hand
from US$157Reserve now & pay later